Photo editing has quietly become one of those everyday skills that started in professional studios and now lives on millions of phones and laptops around the world. Whether you’re sharing family moments, building a portfolio, or just trying to make a dim dinner photo look halfway decent, the ability to adjust an image can make a real difference. But here’s the thing: the world of photo editing can feel overwhelming when you’re starting out at home. Do you need that expensive subscription? Will free software actually work? What about all those brushes, presets, and plug-ins everyone talks about? The truth is simpler than the marketing wants you to believe. Most home editors need a solid foundation and a clear sense of what actually moves the needle, not every feature under the sun.
The Core Software: What Actually Matters
When it comes to choosing your main editing tool, you’re facing a landscape that ranges from completely free to professional-grade subscriptions. The good news is that the gap between free and paid has narrowed considerably over the past few years.
Adobe Lightroom remains the go-to choice for many photographers because it combines organization with editing in one place. The software includes global adjustments for white balance, exposure, contrast, and clarity, plus targeted tools like radial and graduated filters that let you edit specific areas without affecting the whole image. The HSL panel gives you precise control over individual color ranges, which is genuinely useful when you want to shift the tone of a sunset or cool down skin tones. Lightroom Mobile offers basic editing for free on phones and tablets, though the full desktop experience requires a subscription.
For those who want Photoshop-style pixel manipulation without the monthly fee, GIMP provides capabilities similar to some paid applications. It’s free, open-source, and handles layers, masks, and detailed retouching. The interface takes some getting used to if you’re coming from more polished software, but the power is genuinely there.
Affinity Photo has become an increasingly attractive option since its recent acquisition made Affinity Photo 2 free to download and use. It supports RAW editing, layers, and HDR, with an interface similar enough to Photoshop that the transition feels comfortable for many users. For photographers who shoot in RAW and want a Lightroom alternative, Darktable is a powerful free option, though it comes with a steeper learning curve than some competitors.
Here’s what you can skip: you don’t need multiple editing programs when you’re starting out. Pick one that matches your workflow (organizing and batch editing versus detailed pixel work) and learn it thoroughly before adding more tools to your kit.
Hardware and Setup: Where to Invest
The computer you already own is probably good enough to start editing, but a few specific upgrades can make the experience significantly better without breaking the bank.
A color-accurate monitor matters more than most beginners realize. You don’t need a professional-grade display that costs as much as a laptop, but editing on a screen that skews heavily warm or cool means you’re correcting for problems that don’t exist in your actual image. If your photos look perfect on your screen but washed out everywhere else, your monitor is likely the culprit. A mid-range IPS display with decent color coverage will serve you well for years.
Storage is the other piece that deserves real attention. Photo files, especially if you shoot in RAW format, accumulate fast. An external hard drive for backup isn’t optional, it’s essential. Cloud storage works as an additional layer, but having a physical backup you control means you’re not dependent on internet speed or subscription renewal to access your work.
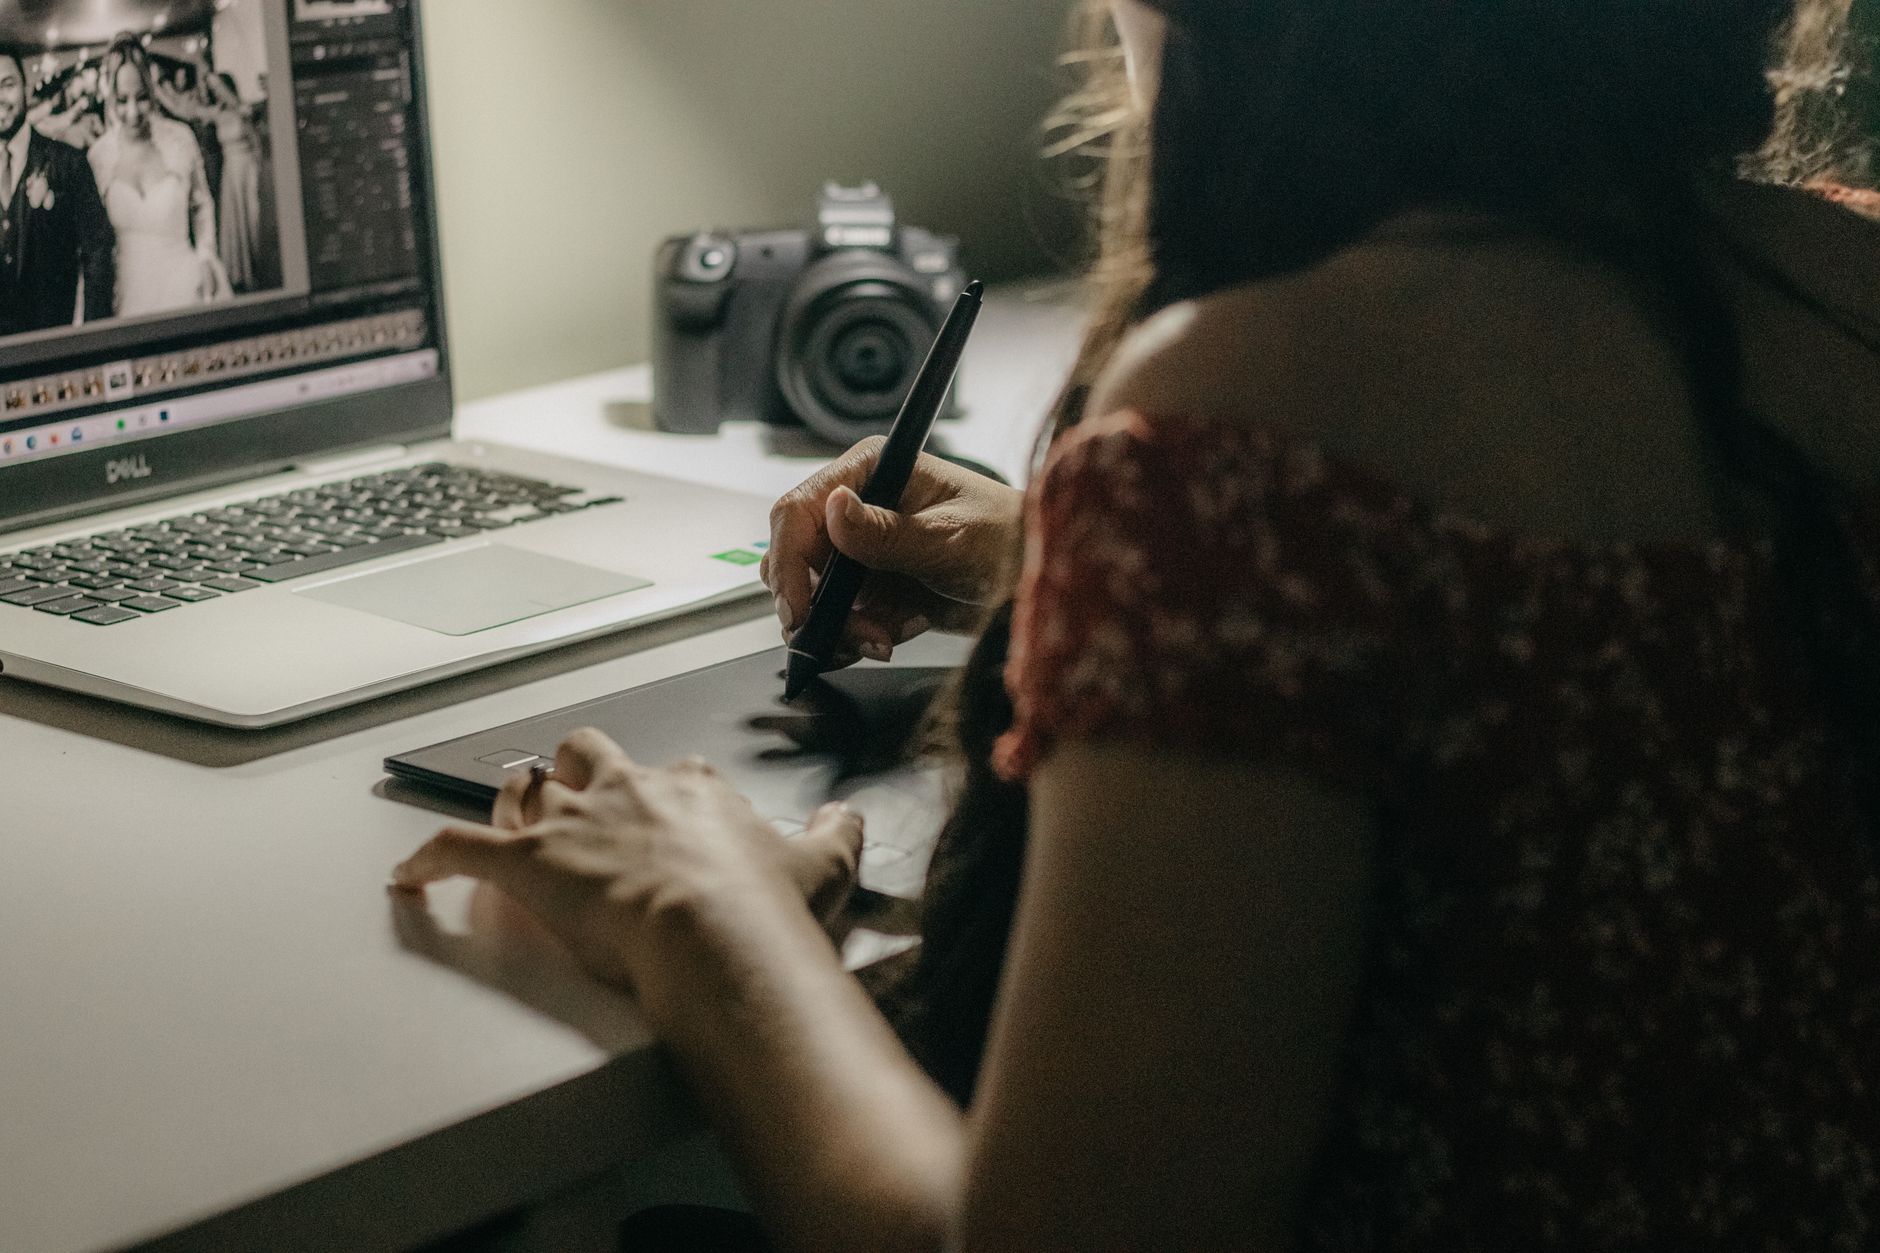
What you can skip: expensive graphics tablets and styluses are wonderful for advanced retouching and digital painting, but they’re overkill for basic photo editing. A mouse or trackpad handles adjustment sliders and masking perfectly well. Similarly, ram beyond a reasonable amount (typically enough to run your editing software smoothly with a few other programs open) delivers diminishing returns for most home editing tasks.
Essential Skills Over Fancy Features
The gap between a beginner and someone who can consistently produce good edits isn’t about knowing a thousand techniques. It’s about mastering fundamental editing concepts like exposure, contrast, color balance, histograms, and curves. These concepts work across any software you choose, which means the time you invest learning them transfers completely if you ever switch tools.
Understanding histograms, for example, gives you an objective read on your image’s tonal distribution. You can see immediately if you’re clipping highlights or crushing shadows before your eyes adjust to your screen’s brightness. Curves let you control contrast and tone with precision that simple sliders can’t match. These aren’t exotic advanced features, they’re foundational tools that professional editors use on nearly every image.
Color balance and white balance corrections often make a bigger visible difference than any artistic filter. A slightly warm indoor shot corrected to neutral looks instantly more professional, even if you haven’t touched sharpness or saturation. The HSL adjustments mentioned earlier let you shift specific colors without turning the whole image into a cartoon, which is the difference between “edited” and “over-edited.”
What you can skip: most preset packs and one-click filters. They’re tempting because they promise instant results, but they’re created for someone else’s images under someone else’s lighting. Learning to read your own image and make intentional adjustments will always produce better results than cycling through presets hoping one fits. Besides, photo editing does not inherently make a picture look fake; instead, it can enhance image quality and convey a specific mood when done with purpose.
What Editing Can’t Fix
There’s a saying in photography that you can’t polish a blurry mess into a sharp masterpiece, and it’s worth taking seriously. Not everything can be corrected during photo editing, which highlights the importance of capturing a good initial image.
Severe motion blur, completely blown-out highlights with no detail, or focus that’s fundamentally wrong can’t be rescued in post-production. You can improve a slightly underexposed image or recover some shadow detail, but if your subject is out of focus or the highlights are pure white with no information, no amount of editing will bring that back. This isn’t a limitation of your software; it’s a limitation of the data captured by your camera.
This reality actually makes life simpler in some ways. Instead of spending hours trying to save a fundamentally flawed image, you learn to recognize what’s worth editing and what’s worth reshooting. It also shifts your attention forward: better lighting, proper exposure, and thoughtful composition at capture time mean less work and better results later.
What you can skip: plugins and tools that promise to magically sharpen blurry images or recover non-existent detail. They might add the appearance of sharpness through artificial edge enhancement, but the actual information isn’t there. Save your money and your time.
Ques and Ais
Do I need Photoshop to edit photos at home?
No, you don’t need Photoshop specifically. Free alternatives like GIMP offer similar pixel-level editing, and programs like Affinity Photo now provide professional features at no cost. Choose software that matches your workflow and learning style rather than defaulting to the most recognized name.
Can I edit RAW files with free software?
Yes, both Darktable and the free version of various mobile apps support RAW editing. Darktable in particular is designed specifically as a RAW workflow tool, though it has a steeper learning curve. Many cameras also include basic RAW conversion software for free.
How much computer power do I need for photo editing?
Most modern computers handle basic photo editing well. You’ll want enough memory to run your editing software smoothly alongside other programs, and sufficient storage for your photo library. A color-accurate monitor matters more than processing speed for most home editing work.
Should I buy preset packs to speed up my editing?
Presets rarely work as advertised because they’re designed for different images under different conditions. Learning to make your own adjustments produces better, more consistent results. Once you understand the fundamentals, you can create your own presets for recurring situations.
Is mobile editing good enough or do I need a computer?
Mobile editing has become surprisingly capable, especially with apps like Lightroom Mobile offering free basic tools. For serious work or detailed retouching, a computer with a larger screen and precise controls still offers advantages. Many people use mobile for quick edits and computers for projects that matter most.
So, What We Learned?
Setting up for photo editing at home isn’t about accumulating the longest list of tools and software. It’s about choosing a solid foundation, whether that’s a free program like GIMP or Darktable, or a paid option like Lightroom, and then actually learning how to use it. The fundamentals haven’t changed: exposure, contrast, color, and composition matter far more than any filter pack or preset collection. A decent monitor and reliable backup storage will serve you better than the fanciest editing tablet you’ll rarely use.
What’s worth remembering is that editing starts with capture. The choices you make when taking the photo, the lighting, the focus, the exposure, set the boundaries for everything that comes after. Editing can enhance and refine, but it can’t create detail that was never there. That’s not a limitation, it’s a guide. It tells you where to put your attention and your effort, both when you’re behind the camera and when you’re sitting at home with your images, trying to bring out what you saw when you pressed the shutter.
The real skill isn’t owning every tool. It’s knowing what you need, what you can skip, and what actually makes your images better. Start there, and the rest tends to sort itself out.
This article is for general information only and is not medical advice; talk to a qualified healthcare professional about your own situation.